
There has never been a better time in history to be an avid gardener.
Whether you want to grow indoors, start a surrounding patio garden, or create a traditional backyard garden; it has never been easier, cheaper, and more bountiful.
In an era where pesticides and herbicides have become standard industry practice, growing your own herbs has perhaps never been more urgent. And let’s not forget, it’s a lot of fun as well!
In this guide, you’ll learn everything that you’d ever want to know about starting an indoor herb garden.
We aim to get you ready to grow as quickly as possible – whether you have a green thumb or not.
Let’s get into it!
Table of Contents:
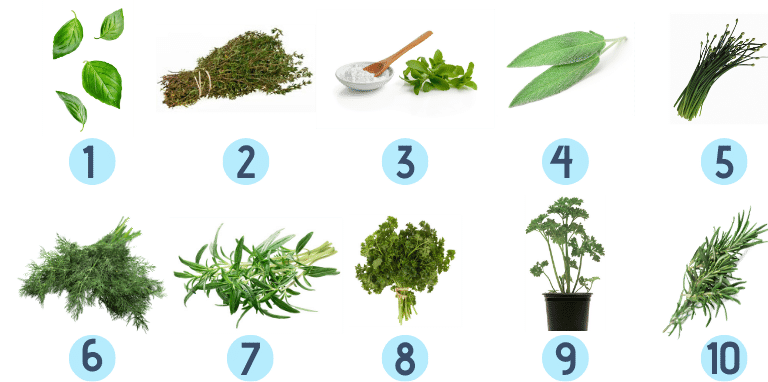
What are the Best Herbs to Start With?
The following table lists our favorite herbs to grow both indoors and outdoors:
| Herbs: | Daily Sunlight: | Optimal Temperature: | Life-Span |
|---|---|---|---|
| 1. Basil | 6 Hours + | 80°F | Annual |
| 2. Thyme | 6 Hours + | 80°F | Perennial |
| 3. Stevia | 6 Hours + | 75°F | Perennial |
| 4. Sage | 6 Hours + | 65°F | Perennial |
| 5. Chives | 3 Hours | 70°F | Perennial |
| 6. Dill | 3 - 5 Hours | 70°F | Annual |
| 7. Savory | 3 Hours | 75°F | Annual |
| 8. Parsley | 5 Hours + | 65°F | Biennial |
| 9. Coriander | 5 Hours + | 60°F | Annual |
| 10. Rosemary | 5 Hours + | 60°F | Perennial |
- Annuals: Live for one growing season.
- Perennials: Live for multiple growing seasons.
- Biennials: Live for two seasons.
Just think of every stew, beef dish, pasta dish, chicken dish, cuisine, or chowder that goes well with at least one of these herbs.
And don’t forget about beverages! Dried Parsley, Thyme, and Basil are delicious in tea, coffee, or as a flavoring agent in water.
Each one of these herbs are also remarkably easy to grow.
Although, you have to keep in mind that Basil, Thyme, Stevia, and Savory are especially susceptible to the cold.
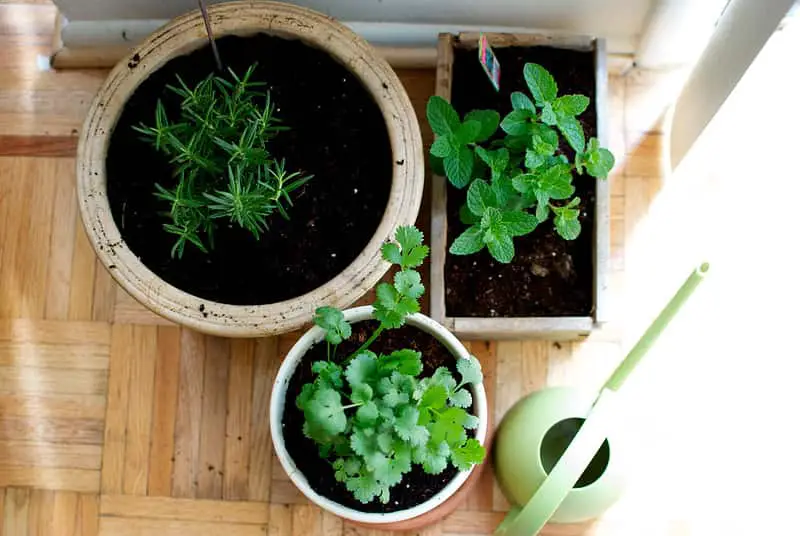
Indoor Herb Gardening 101
Many of us are limited to small apartment spaces or balconies, however, this isn’t necessarily a problem!
Indoor growing – when done properly – is not as messy, or time- consuming as traditional outdoor growing.
Starting an Indoor garden
There are four fundamental aspects of indoor gardening that you must understand.
- Air Circulation: Herbs crave fresh air; make sure to place a small fan within your garden for constant and consistent airflow. If it’s considerably cooler outside, don’t leave windows or doors open for too long. Yes, the air is even fresher outside but small changes in temperature – a cold draft for example – can be a serious detriment to herb growth.
- Watering: You know the drill – growing herbs need water daily. My advice? Create a morning watering schedule for each herb and stick to it. Watering at night can increase the chances of disease as plants need the heat of sunlight to properly process the water. Herbs that are grown in containers generally need more water than herbs that are grown outside. As a general rule of thumb, warm water is better than cold water – room temperature is ideal.
- Spacing: Before you begin buying pots, seeds, watering equipment, and soil / some sort of growing medium, make sure to plan where your set-up will be in advance. For most people, the best place will generally be in the kitchen. Make sure to give each plant enough individual space – generally 10 X 20 inches. Perennial herbs should be planted separately from the annual herbs.
- Conservancy: Never use pesticides or herbicides. Instead, monitor your herbs daily. Make sure their color isn’t fading and be on the lookout for damaged leaves; you should also make sure that there are no insects nesting inside your potting soil. If you must use some sort of insect repellent, only use organic sprays. Remember, you’re going to (usually) end up eating your herbs; don’t load them with precarious chemicals unless you want to end up loaded with precarious chemicals!
Choosing the Right Soil
First off, herbs do not need fertilized soil; instead, try organic garden soil and nutrient boosters for optimal plant growth.
Which nutrient boosters are best?
I’m a big fan of liquid seaweed; it’s loaded with vital nutrients and it activates enzyme systems that stimulate plant growth.
I have also had success using liquid kelp extract in the past.
Along with vital minerals, both of these nutrient boosters help with the production of essential oils as well.
Make sure you don’t apply either extract onto your herb’s leaves, instead directly apply a modest amount to the roots and soil.
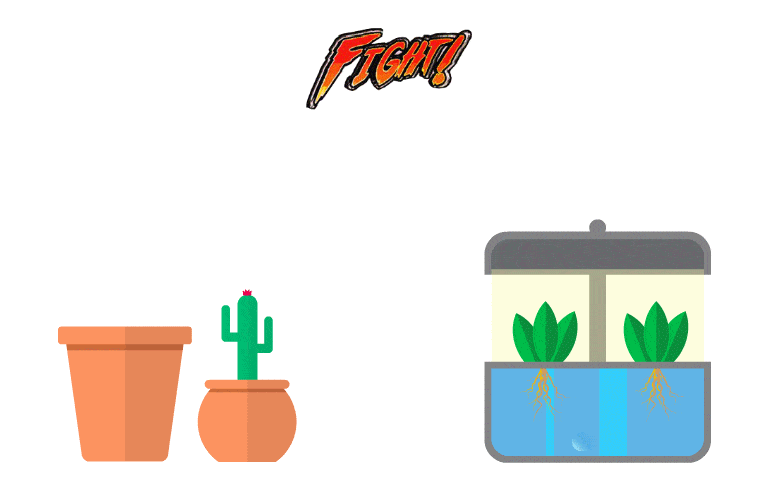
Hydroponic Herb Gardening
We’ve written extensively on hydroponic growing – a technique for cultivating plants without soil.
No soil = no mess… usually.
There are many different hydroponic techniques, let’s take a quick look at the most popular ones.
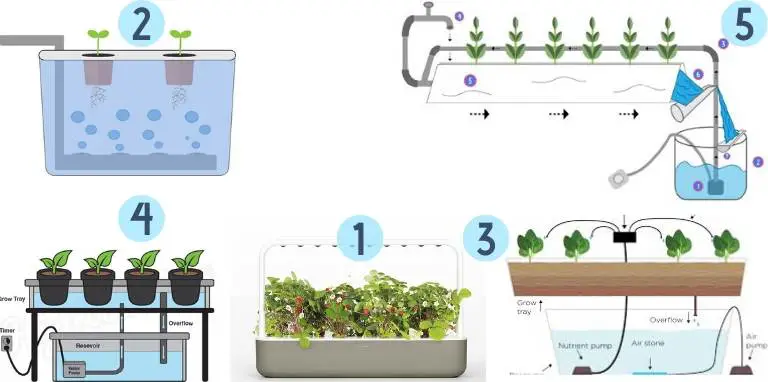
| Technique | Difficulty | Average Price | Overall Score |
|---|---|---|---|
| 1. Aeroponics | 2/10 | $$ | 98% |
| 2. Deep Water Culture | 4/10 | $ | 93% |
| 3. Drip | 6/10 | $$$ | 91% |
| 4. Ebb & Flow | 8/10 | $$ | 93% |
| 5. Nutrient Film | 8/10 | $$$ | 90% |
Aeroponics Growing:
Aeroponics is currently all the rage. It’s a technique where plant roots are suspended into a nutrient reservoir and are misted periodically with nutrient solution.
The most popular aeroponic systems are actually sold commercially as herb kits.
AeroGarden offers – in my opinion – the best-designed (and recently re-designed) herb kits on the market.
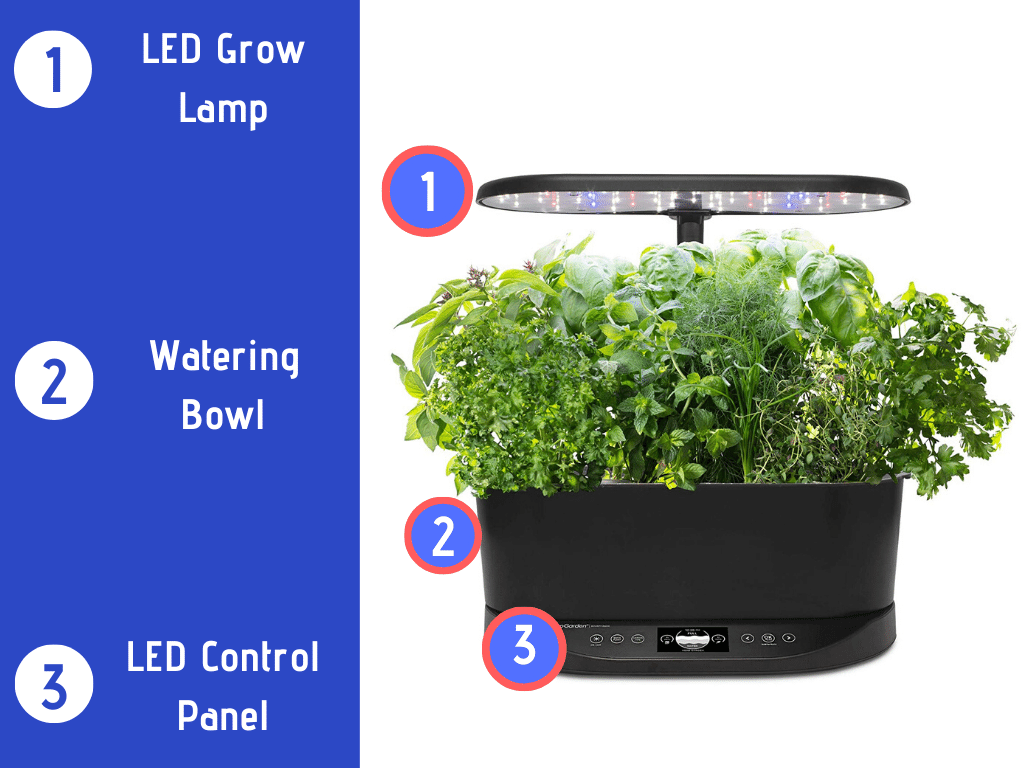
- The 40W full spectrum LED grow light is positioned at an optimal distance from the planting pods for adequate blue, red, and white light absorption. The Bounty also has a light adjustability feature; you can dim the brightness to around 30% of max output.
- The large, re-designed watering bowl gives plants ample space for flourishing and flowering.
- The high-resolution LED control panel is easy to use; you can get planting within 30 minutes.
In my experience, the Bounty grows herbs considerably faster than soil-based gardening. In fact, AeroGarden claims that the Bounty grows 5-times faster than soil gardening.
How Does Aeroponics Work?
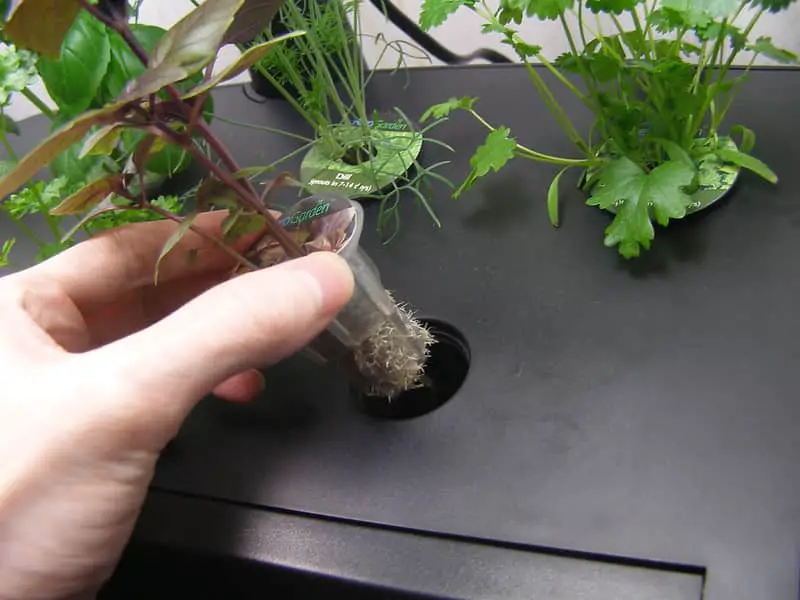
After filling the watering bowl with water and a small amount of nutrient solution, plant seeds should be inserted into these small plastic planting pods pictured above; the planting pods should then be inserted into the Aeroponic reservoir.
After this, you can simply select the ‘quick plant’ option and Voilà! You’re on your way to fresh herbs.
Aeroponic units automatically mist the plant seeds with nutrient solution at optimal time intervals.
If you’re looking for a D.I.Y alternative, gardenpool.org, has an easy-to-follow list of instructions for a high-performance aeroponics system.
For a more detailed look at hydroponic growing, the various techniques, and the best growing mediums, check out our article on hydroponic herb gardens.